If you’re looking to start selling online, understanding How to Create an Amazon Seller Account in India is your first and most important step. With India’s eCommerce market growing rapidly and millions of customers shopping daily, Amazon offers one of the most trusted and profitable platforms for sellers.
However, many beginners face challenges during Amazon seller account creation—from document confusion to GST verification errors and account rejections. The good news? The process is straightforward when done correctly.
This guide will walk you through everything — documents required, step-by-step registration, common mistakes, and growth strategies — so you can confidently create Amazon seller account in India and start generating sales.
Why Sell on Amazon India?

It is not just about listing products on Amazon. It’s around capitalizing on a trusted ecosystem.
✔ Massive Customer Reach
Amazon India is a platform having millions of active users across categories. Whether you’re selling electronics, fashion, beauty or home products — demand is there.
✔ Trusted Brand Reputation
Amazon is already trusted by customers, which gives your product a higher conversion than standalone eCommerce sites.
✔ PAN-India Logistics Support
With Fulfillment by Amazon (FBA), storage, packing, delivery and even customer service are taken care of.
✔ Global Selling Opportunity
Once you have your account set up, you can go international.
Everything is managed through Amazon Seller Central, your control panel to track orders, payments and performance.
Documents Required for Amazon Seller Registration India
To avoid delays in approval, keep the following ready:
- PAN Card (Mandatory)
- GST Number (Required for most categories)
- Active Bank Account Details
- Mobile Number (Linked with Aadhaar preferred)
- Valid Email ID
- Business Address Proof
- Cancelled Cheque
Ensuring accurate documentation improves approval speed and prevents rejection.
Step-by-Step Process: How to Create an Amazon Seller Account in India

Follow these structured steps carefully:
Step 1: Visit Amazon Seller Central
Go to the official Amazon Seller Central website and click “Register Now.”
Step 2: Choose Your Selling Plan
| Feature | Individual Plan | Professional Plan |
| Monthly Fee | ₹0 | Depends on product+ GST |
| Per Item Charges | Yes | No |
| Best For | Beginners | Growing Businesses |
| Ads Access | Limited | Full Access |
If you plan to scale and run ads, the Professional Plan is recommended.
Step 3: Enter Business Details
Provide your legal business name, address, and PAN details. Ensure your name matches exactly with your PAN card.
Step 4: Add GST & Tax Details
Enter your GST number (if applicable). Incorrect GST entries are a common cause of rejection.
Step 5: Bank Account Verification
Provide your bank details. Amazon may deposit a small amount to confirm authenticity.
Step 6: Identity Verification
Complete KYC verification by uploading documents or attending video verification if requested.
Approval usually takes 2–5 working days if all details are accurate.
Individual vs Professional Seller Account – Which Is Better?
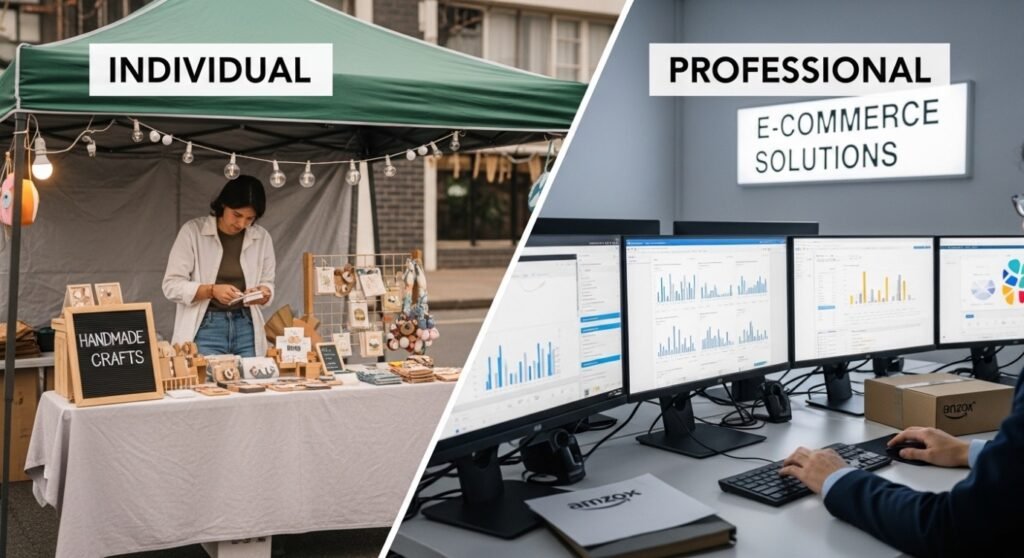
For testing a handful of products, the Individual plan does the job. However, if you need more advertising accessibility and brand development for long-term growth — Professional plan is appropriate.
- Professional accounts offer:
- Access to Amazon PPC Ads
- Bulk listing tools
- Advanced analytics
- Buy Box eligibility
Professional plan is a better scaling solution for serious sellers.
Common Reasons Amazon Seller Accounts Get Rejected
Understanding these issues increases approval chances:
- Incorrect PAN information
- GST mismatch
- Bank details not matching legal name
- Poor-quality document uploads
- Duplicate account creation
- Address discrepancies
Even small spelling errors can delay your Amazon seller registration India process.
What to Do After Creating Your Amazon Seller Account
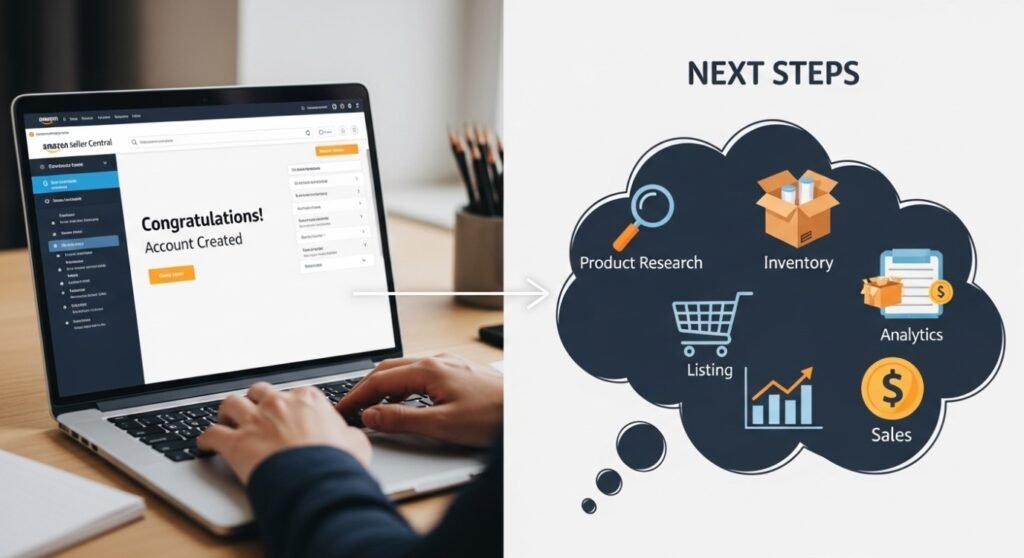
Step one is just setting up your account. Growth requires strategy.
1.Optimize Product Listings
Giving important tips, shall try to use Keywords in Title, Bullet Points and Description
2.Focus on Amazon SEO
They are curated from research carried out for the contest.
3.Launch PPC Campaigns
Advertising enhances visibility over and above organic traffic-seeking, streamlining the process of selling to every potential customer.
4.Monitor Account Health
Monitor your Order Defect Rate, Late Shipment Rate etc.
5.Register Your Brand
Brand Registry protects your listing and enhances credibility.
Professional Amazon Seller Account Management Services can help avoid costly mistakes during scaling if you wish to do it really.
Why Choose SalesStrive for Amazon Seller Account Setup?
While creating an account seems simple, optimizing and scaling profitably requires expertise.
At SalesStrive, we specialize in:
- Complete Amazon seller account setup
- Listing optimization for maximum visibility
- Keyword research and Amazon SEO
- PPC campaign management
- Account health monitoring
- Suspension support & recovery
- Long-term growth strategy
👉 Book a Free Consultation with SalesStrive Today and Launch Your Amazon Business the Right Way.
Let experts handle the complexity while you focus on growth.
Frequently Asked Questions
1.How to start an Amazon seller account in India?
To start an Amazon seller account in India, register on Amazon Seller Central, submit your PAN, GST (if applicable), bank details, and complete the verification process.
2.Is it free to sell on Amazon in India?
Creating an Amazon seller account is free, but Amazon charges referral fees, closing fees, and shipping fees depending on the product category.
3.Is an Amazon seller account free?
Yes, creating an Amazon seller account is free, but Amazon charges referral fees, closing fees, and other service fees when you start selling products.
4.Is GST mandatory to create an Amazon seller account in India?
Yes, GST is required for most categories. However, certain exempt categories may not need GST.
5.Can I create an Amazon seller account without company registration?
Yes, you can register as an individual or sole proprietor using your PAN.
6.How long does Amazon verification take?
Typically 2–5 working days, depending on document accuracy.
7.Can I sell internationally from India?
Yes. After domestic approval, you can apply for Amazon Global Selling.
8.What is the biggest mistake new sellers make?
Skipping listing optimization and running ads without proper keyword research.
9.Is GST mandatory for Amazon seller account?
Yes, GST is mandatory for most product categories. However, GST is not required for some exempt categories like books.
10.Do I need a tax ID to sell on Amazon?
Yes, in India you generally need a GST number (tax ID) to sell most products on Amazon, except for a few GST-exempt categories.
11.Is selling on Amazon still profitable?
Yes, selling on Amazon is still profitable in 2026 if you choose the right product, optimize listings with proper keyword research, and manage ads strategically.
Final Thoughts
Learning How to Create an Amazon Seller Account in India is simple when you follow the right steps. But building a profitable Amazon business requires expertise, compliance, and smart strategy.
If you want to avoid costly mistakes and grow faster, expert guidance makes a significant difference.
🚀 Ready to Start Selling on Amazon? Let SalesStrive Help You Set Up, Optimize, and Scale Your Amazon Seller Account Today.
Your Amazon journey begins now — take action and build your online success story.