India’s quick commerce industry is transforming how consumers shop for daily essentials. Platforms like Blinkit are enabling 10–20 minute deliveries, creating massive opportunities for FMCG brands, D2C sellers, grocery suppliers, and distributors.
If you’re planning Blinkit seller onboarding in India, this complete guide explains eligibility, documents required, the Blinkit seller registration process, commission structure, and approval timelines — in a clear, step-by-step format designed for practical execution.
What is Blinkit & Why Should You Sell on Blinkit?
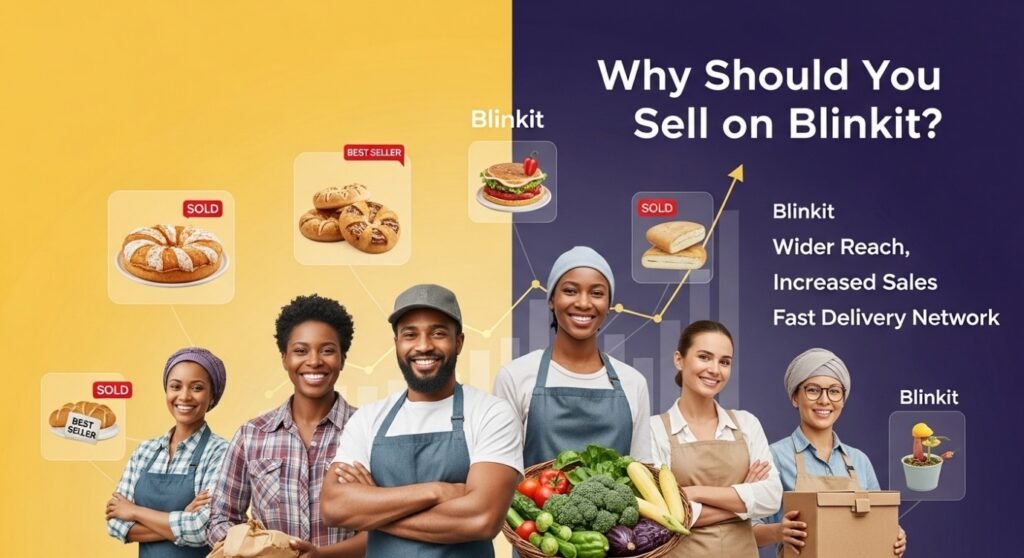
Blinkit operates on a hyperlocal quick commerce model, delivering products from nearby dark stores within minutes. Unlike traditional marketplaces, Blinkit focuses on high-demand, fast-moving essentials.
Why sellers prefer Blinkit:
- High order volume in metro cities
- Faster inventory turnover
- Hyperlocal targeting
- Growing demand for instant delivery
For brands looking to scale in urban markets, Blinkit seller onboarding provides strong visibility and consistent demand.
Who Can Become a Blinkit Seller?

Blinkit typically works with:
- FMCG brands
- Grocery suppliers
- D2C brands
- Distributors
- Local manufacturers
To qualify for Blinkit vendor registration, sellers must have:
- Valid GST registration
- Registered business entity
- Consistent inventory supply
- Compliance with food and safety norms
If you meet these requirements, you can proceed with Blinkit account onboarding.
Documents Required for Blinkit Seller Registration
To avoid onboarding delays, keep the following documents ready:
- GST Certificate
- PAN Card (Business or Individual)
- FSSAI License (mandatory for food categories)
- Cancelled Cheque
- Aadhaar Card
- Brand Authorization Letter (if reseller)
- Bank Account Details
Accurate documentation improves approval speed and reduces verification issues during Blinkit seller registration service processing.
Step-by-Step Blinkit Seller Onboarding Process
Step 1: Submit Seller Application
Sign up on Blinkit seller portal with business information, GST details and contact details 2.
Step 2: Document Verification
KYC and compliance checks are done by Blinkit including GST and FSSAI verification.
Step 3: Product Catalog Submission
Import your SKUs, pricing, product images, inventory level, and descriptions. Approval time also depends largely on the quality of your catalogs.
Step 4: Commercial & Margin Agreement
Commission plan and category margins are established in this phase.
Step 5: Get Your Account Approved / Activated
With approval, your account is live and merchandise can be seen by customers.
This organized Blinkit onboarding flow allows you to set-up for action.
Blinkit Commission & Charges Explained
Blinkit has different commissions based on category and type of product. Sellers may incur:
- Category-based commission fees
- Fulfillment or logistics charges
- Promotional or visibility charges
- Settlement cycle deductions
Commission varies based on product demand and negotiation. It is important to know the commission and margin policies of Blinkit before the final agreement.
How Long Does Blinkit Seller Approval Take?
The Blinkit seller approval is usually 7-15 days.
Approval depends on:
- Accuracy of submitted documents
- GST and compliance verification
- Catalog quality and demand category
- City availability and expansion plans
There are sometimes delays over missing documentation or the refusal of records to be catalogued.
Common Reasons for Blinkit Seller Rejection
- Incomplete documentation
- Incorrect GST details
- Low-demand product category
- Poor product compliance
- Missing brand authorization
Most Blinkit seller account rejected cases can be resolved by correcting compliance errors and resubmitting documents accurately.
Tips to Get Faster Approval on Blinkit
To improve onboarding speed:
- Ensure GST and FSSAI details are accurate
- Upload high-quality product images
- Submit competitive pricing
- Provide brand registry proof
- Maintain ready inventory for immediate supply
Professional Blinkit onboarding experts often help avoid catalog rejection and GST verification problems.
Benefits of Professional Blinkit Onboarding Services
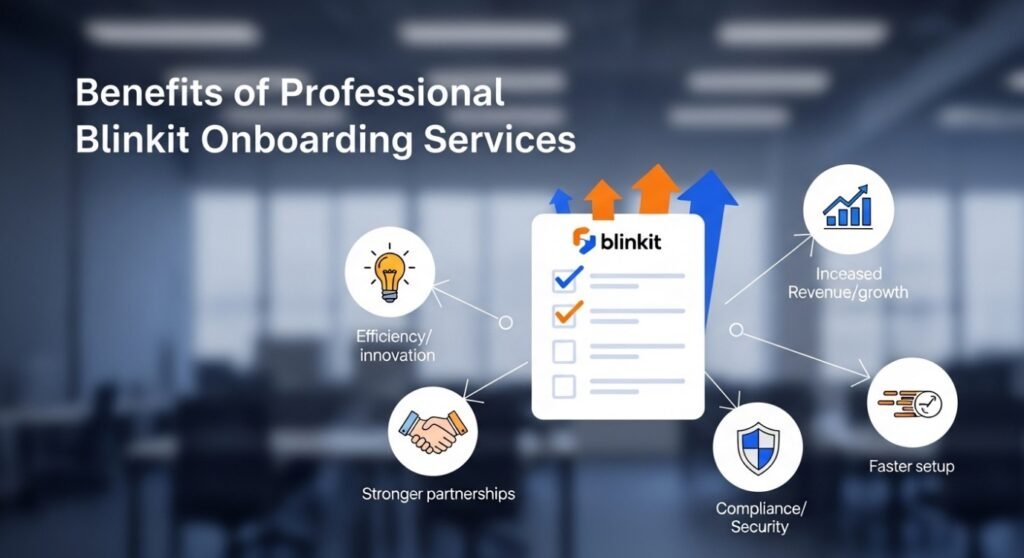
Many brands choose a Blinkit onboarding agency or consultant to reduce approval delays and improve setup quality.
Professional Blinkit onboarding services provide:
- Faster seller approval support
- Error-free documentation handling
- Optimized product catalog upload
- Margin negotiation guidance
- Strategic quick commerce growth planning
For FMCG brands and D2C sellers, expert support ensures smooth Blinkit seller setup service execution and long-term profitability.
FAQs – Blinkit Seller Onboarding in India
1.How do I begin the Blinkit seller onboarding in India?
Signup Blinkit to be a seller by visting the official Blinkit Seller Portal in India: To start with the blinkit marketing place, you must sign it up! Provide your business information, GST details, supported docs and products catalog. Your account may be approved and activated after verification and commercial terms.
2.Is it compulsory to have GST for Blinkit seller?
Yes, sellers need to get registered under GST. Blinkit is a GST-compliant marketplace. As such, we need the GST number for invoicing, tax purposes, and settlement processing.
3.What is the document needed for Blinkit seller registration?
You typically need:
- GST Certificate
- PAN Card
- FSSAI License (for food categories)
- Cancelled Cheque
- Aadhaar Card
- Brand Authorization Letter (if applicable)
- Bank Account Details
When you document everything correctly, you can mitigate this friction from the onboarding process.
4.How long does it take for Blinkit seller approval?
The processing time is generally 7–15 working days once your application documents are proved to be accurate and contributory, the category is in demand and so on. Incomplete or inaccurate documentation can stretch that time line.
5.What are the best-selling on Blinkit?
Fast-moving categories perform best, including:
- Groceries
- Beverages
- Personal care
- Household essentials
- FMCG products
Blinkit is a quick commerce delivery platform which provides high-demand daily essentials.
6.What are Blinkit commission charges for sellers?
Commission is applied depending on the product category and the commercial agreement. Sellers can also be charged for shipping or promotions. Closing values will be determined during the onboarding process.
7.How do I become a Blinkit seller?
You will need to register on the Blinkit seller portal, provide necessary documents and complete verification.
8.Is it compulsory for Blinkit seller registration to have GST?
Yes, it is necessary for all the sellers to get registered under GST.
9.Which are the top selling products on Blinkit?
FMCG Products, Grocery Items, Beverages, Personal care and daily needs lead the chart.
10.Does Blinkit provide warehousing?
Blinkit functions through the dark store model. Stock is usually sent to Blinkit-run warehouses.
11.Can I assist in the Blinkit onboarding?
Yes, Blinkit professional registration wanders offer onboarding from end to an account management.
Conclusion
Express delivery is swiftly changing India’s retail market landscape and Blinkit seller onboarding in India presents an exciting opportunity for brands that are compliant and inventory-ready. And by learning how to register, what documents are required, and what the commission structure looks like, you will get approved quicker – which means you can start scaling faster.
If you’d like a more hassle-free onboarding experience, look no further than expert Blinkit onboarding service support to help speed up your approval and maximise your launch.